
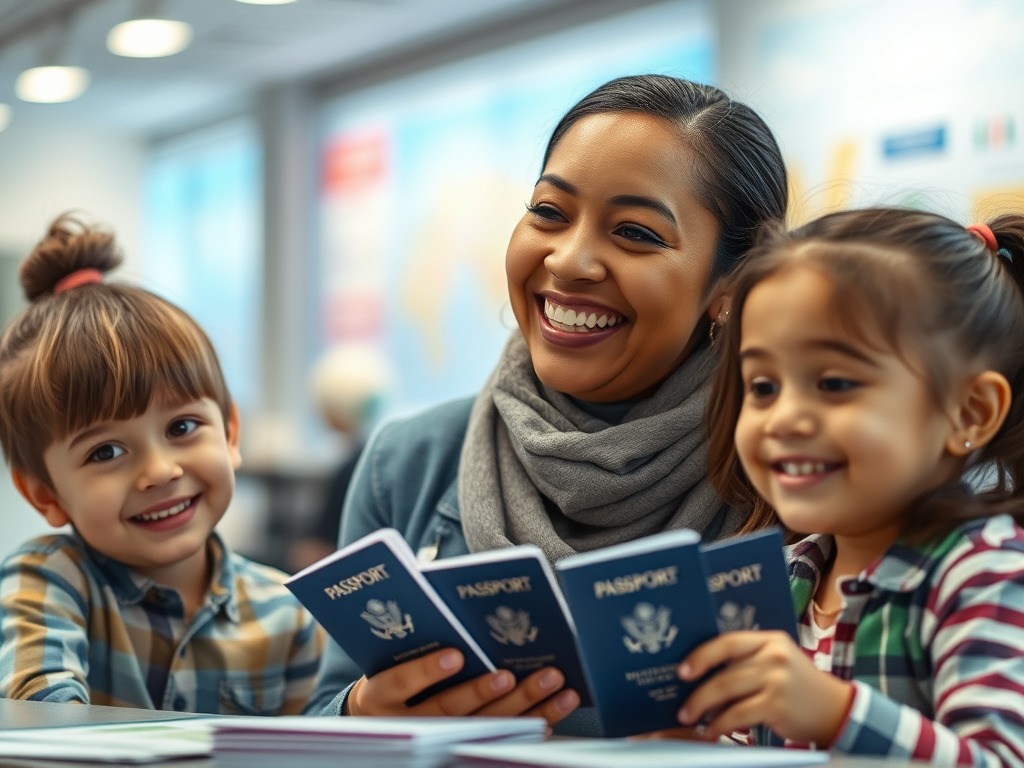
When I decided to get my kids their passports, I was expecting a long, complicated process. However, it turned out to be much easier than I anticipated! Initially, I wasn’t planning on getting passports for a few years to align with my passport’s renewal cycle. But when some friends invited us on a cruise to celebrate a few big milestones, I knew we needed to get our travel documents sorted out quickly.
Here’s a step-by-step guide on how to get a passport for your little ones:
1. Gather the Necessary Documents
First, you’ll need to gather a few essential documents for the passport application:
- Completed DS-11 Form: This is the standard form for applying for a U.S. passport. You can fill it out online and print it, or pick up a copy at your local passport acceptance facility.
- Proof of Citizenship: You’ll need the original birth certificate for each child. Since I’m a single mom and my kids’ birth certificates only include my information, I only needed to provide my details. Make sure to bring a certified copy as well because you’ll submit the original with the application, and it will be returned with the passport.
- Parental Identification: As the only parent, I provided my valid identification (like a driver’s license or passport) to verify my identity.
- Passport Photos: You’ll need a passport photo for each child. We got ours taken at Mike’s Camera, which was super convenient.
2. Take Passport Photos
Taking passport photos for little ones can be a bit tricky since they need to meet specific requirements. I dressed the kids in white shirts for their photos, but the general recommendation is to dress them in dark-colored shirts to ensure good contrast against the background. Thankfully, our photos were accepted! To avoid any issues, I recommend going to a place like Mike’s Camera, where they are experienced in taking passport photos for kids and ensure they meet all the guidelines.
3. Fill Out the Application
Make sure to fill out the DS-11 form correctly. If possible, do it online to minimize errors, but don’t sign the form until you’re at the passport acceptance facility.
4. Make Copies of Required Documents
In addition to bringing the original birth certificate, it’s crucial to have a photocopy as well. The passport acceptance facility will keep the copy, and the original will be returned to you with the passport.
5. Visit a Passport Acceptance Facility
Both parents and the child must be present when applying for a minor’s passport. Head to your local post office or a designated acceptance facility to submit the application. Make sure to bring:
- The completed DS-11 form
- Original and photocopy of the birth certificate
- Passport photos
- Parental identification
6. Pay the Fees
When paying the fees for a child’s passport application, you’ll need to use a check or money order; cash and credit cards are not accepted for this part of the process. It’s a good idea to check the exact fees on the State Department’s website or call the facility in advance to ensure you have the correct amount and payment method.
7. Wait for Processing
Once the application is submitted, it’s a waiting game. Passports for minors typically take a few weeks to process, so make sure you apply well in advance of any planned travel.
8. Expediting the Process
If you’re in a rush and need your child’s passport sooner, you have the option to expedite the process. While it wasn’t necessary for us, expediting can significantly reduce the processing time from several weeks to just a few days. Here’s what you need to know about expediting a child’s passport:
- Expedited Fee: There’s an additional fee for expediting the application. Be sure to check the most current expedited fee on the State Department’s website.
- Proof of Travel: In some cases, especially for urgent travel needs, you may need to provide proof of upcoming travel, such as a flight itinerary or cruise booking.
- In-Person Appointment: For urgent situations (within two weeks of travel), you might need to make an appointment at a passport agency or center, where they can process the application more quickly. Be prepared to provide documentation that supports the need for expedited service.
If you do need to expedite, make sure to bring all the required documents and fees to the appointment. Expediting can be a lifesaver for last-minute travel plans, ensuring you have everything you need to get going on your adventure!
Cruise Ready!
Now that we have our passports, we’re all set for our upcoming cruise, thanks to our travel partner, Traveling Elsewhere. She helped us plan the trip and made sure we had everything we needed for a smooth journey. Getting passports for my tiny humans turned out to be a straightforward process, and now we’re ready to make some fantastic memories on our adventure!


Leave a Reply